
You may have copped the recently launched DJI Osmo Mobile 2. This gimbal has almost all of its predecessor’s features sans the integrated camera for less than half the price at $129.99. However, setting this up had been less intuitive than expected. You may also have seen less than mediocre reviews of this gimbal on the Apple Online Store – with a majority of them saying that they got a DOA unit. I still gave it a shot nonetheless.
So here’s what I did (which you probably did too). I charged up the gimbal to full capacity. I attached my phone as I would on other smartphone tripod attachments. Then, I turned on the gimbal by holding the M button for about 2 seconds. It would see it attempt to get upright but it won’t. After tinkering with it a little more, I realized that the motors are struggling to tilt the phone upright. I tried assisting it manually and it still wouldn’t do it fully. My DJI Go app would sometimes flash a screen illustrating how the phone should be oriented as I assisted the rotors manually.
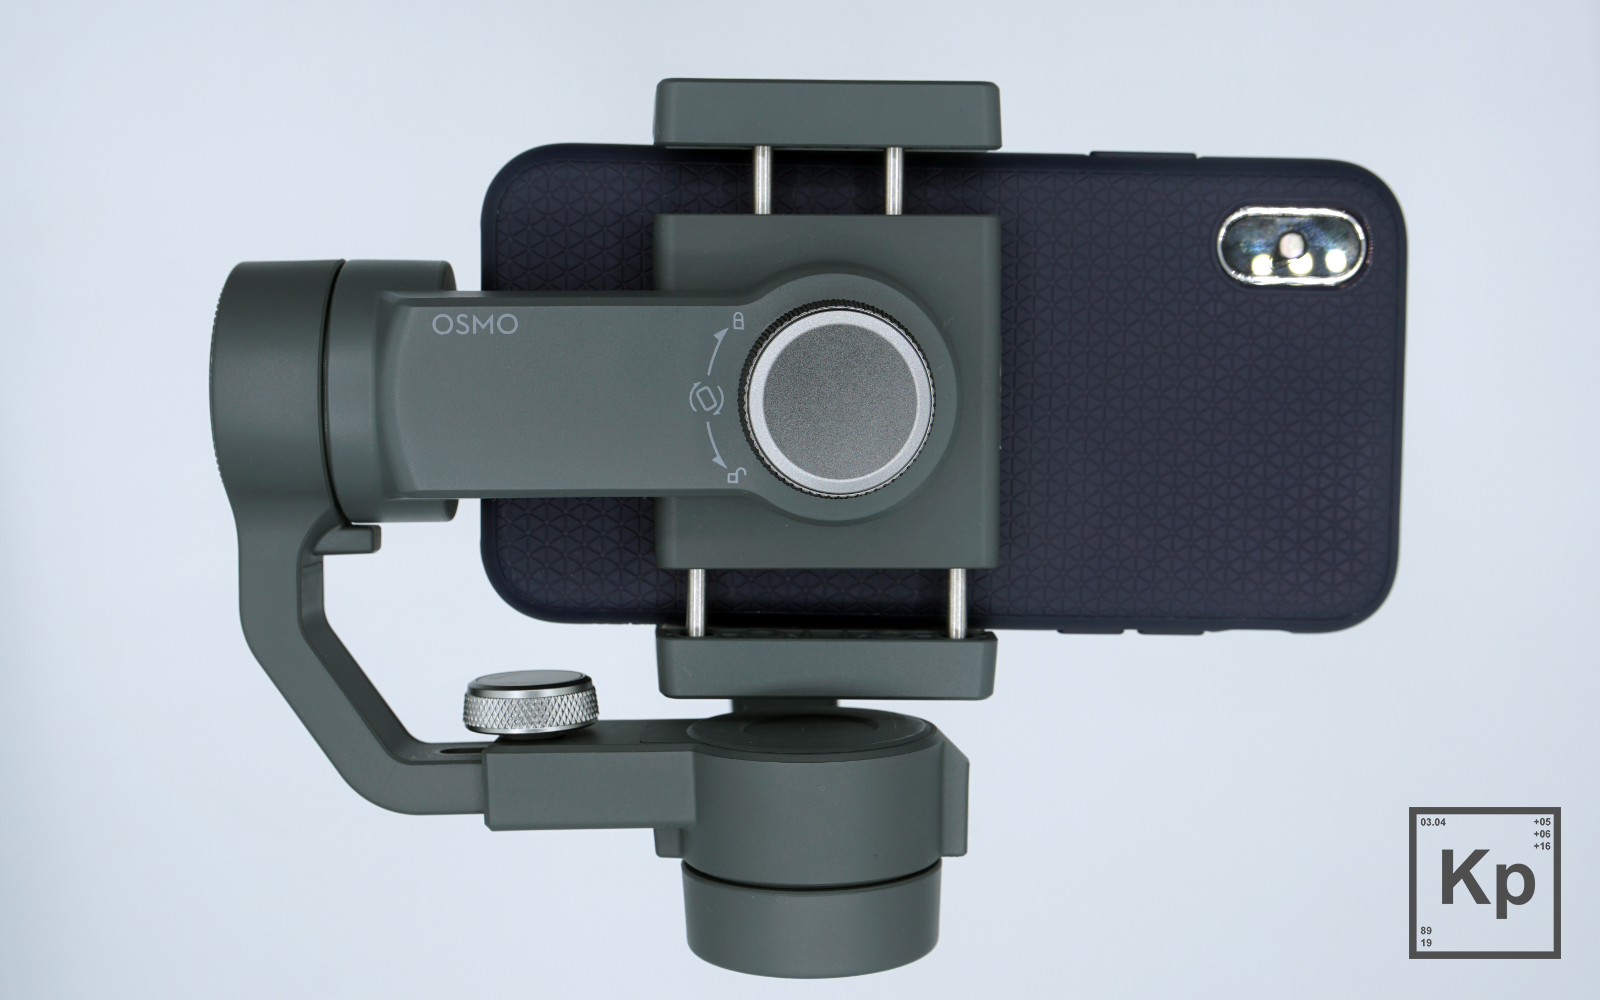
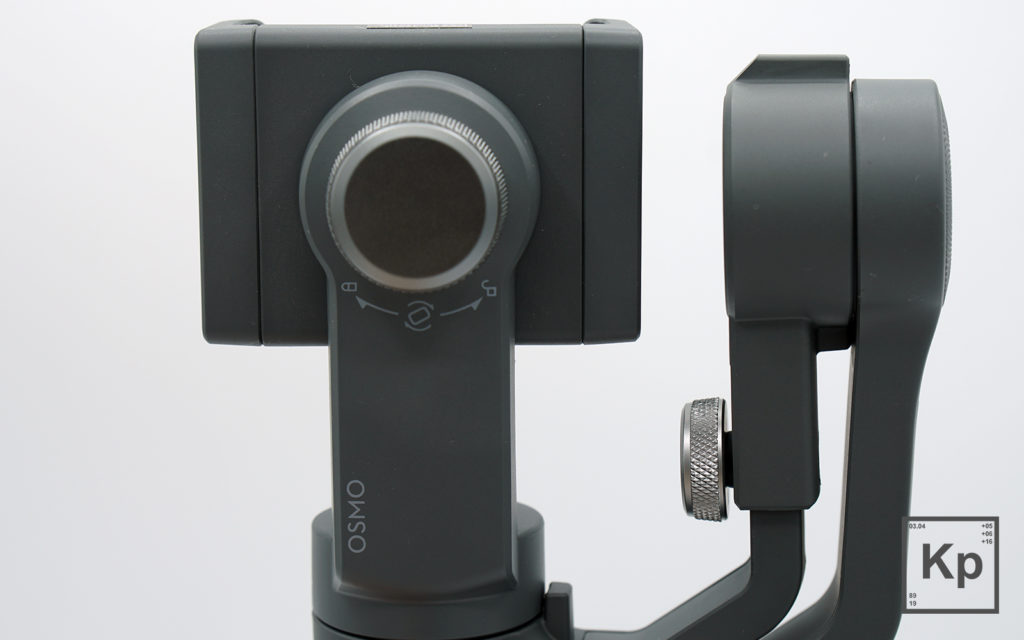
It then dawned on me that I had to get it to that position from the get-go! The closer it is to the intended position, the less work there is for the rotors to get the phone upright. In order to do so, use the 2 knobs to adjust the X and Y placement of the phone. 
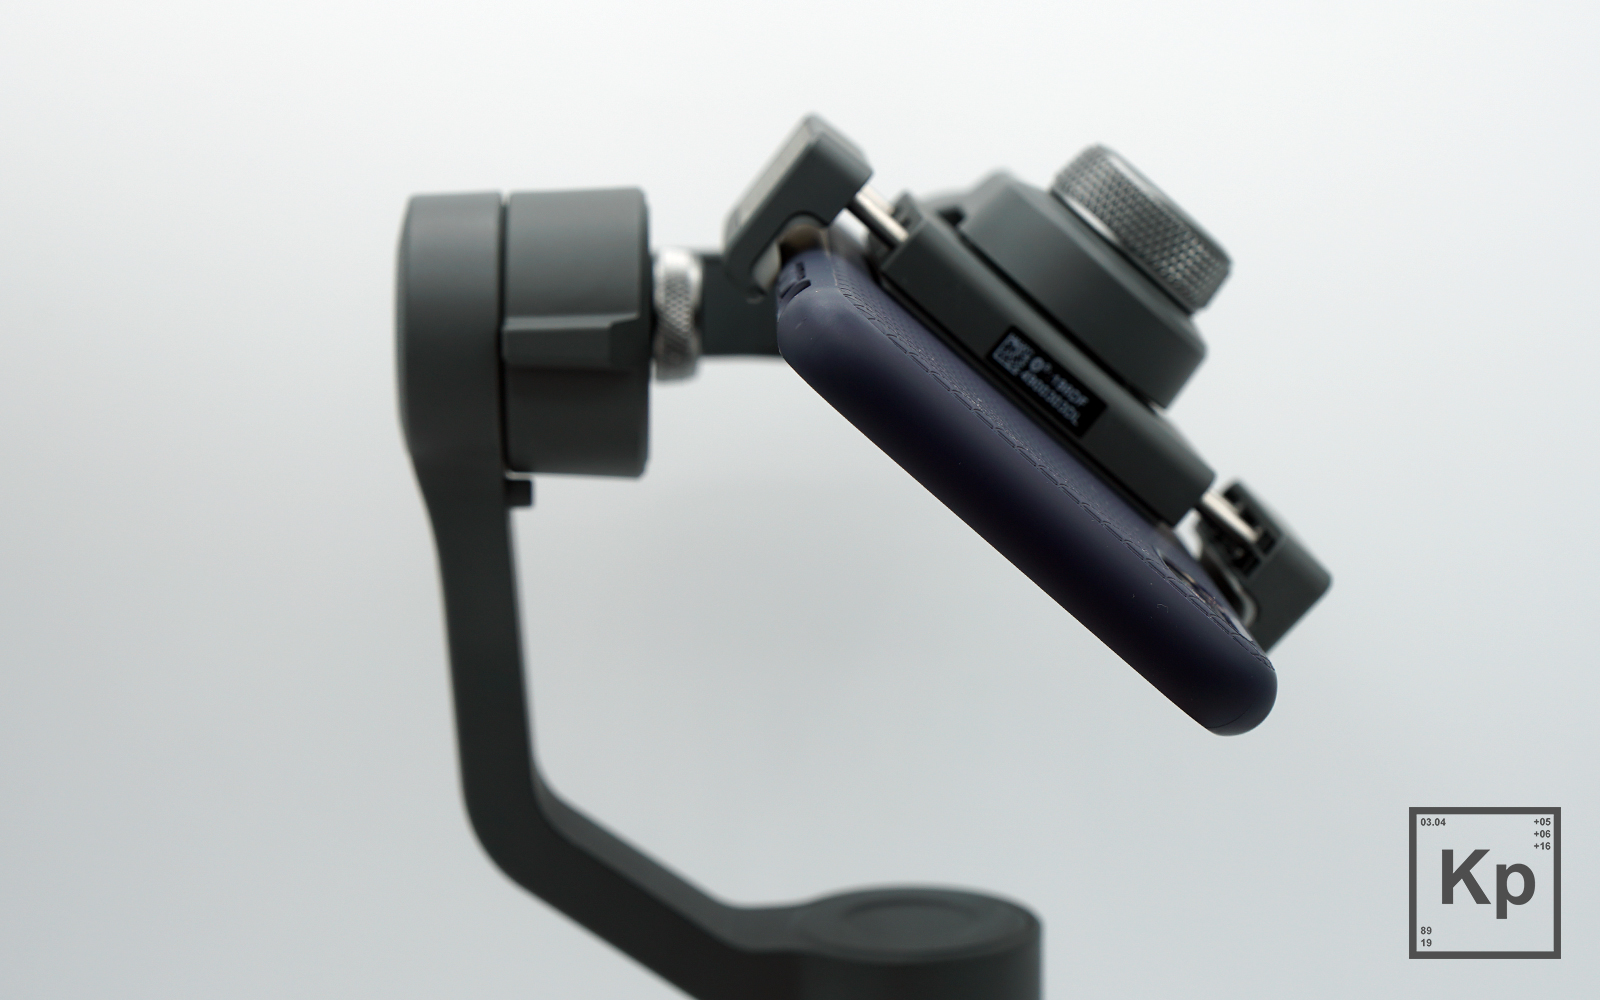
 Again, it has to assume a suspended position with the screen facing down as shown.
 Unfortunately, this has to be done EVERY TIME you want to use the DJI Osmo Mobile 2. I practiced it myself a few times to set it up and turn it on without having it complain about it not being “upright” during boot. It’s not too bad as being off by a few degrees won’t be a problem for the rotors to nudge it to the right angle.
As an added bonus: here is the best DJI OM2 case, in my opinion. I prefer this contoured design over the rectangular padded ones as I usually pack this gimbal with many other gadgets in my backpack – so every inch counts! I also find this mini tripod a must-have.